One of the most challenging and time-consuming aspects is trying to find out what your trading style is and the time period that best suits you. From the perspective of technical analysis, that means finding the right tools that you will usually use and learning well.
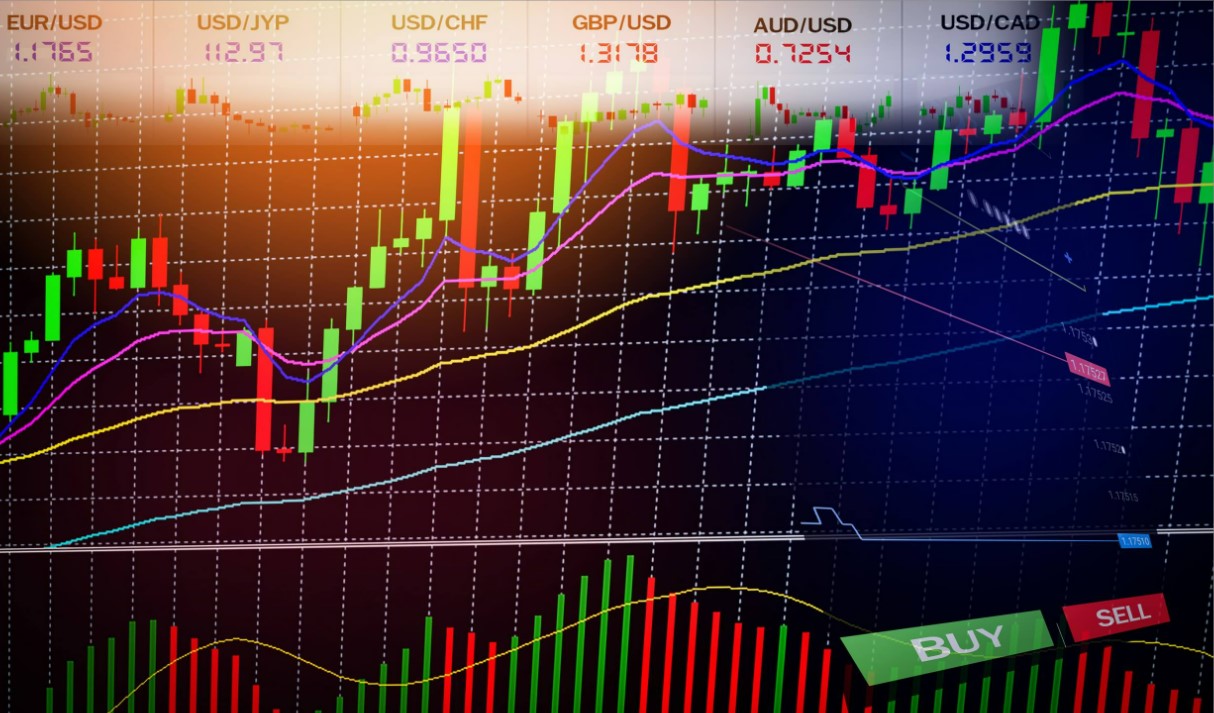
What are Forex indicators?
Forex indicators are useful in helping you answer these dilemmas. What to do if a currency is making historical maximums and minimums, so there is not enough or no support and resistance to guide you in and out decisions? How do you know if you’re not shopping at the top, or selling right at the bottom, right before the trend ends? Ideally, in any case, you’d wait for a retraction of some kind, but in the meantime, you risk losing the trend!
If you’re in a winning transaction and you’re approaching your planned exit, how do you know if you should take a planned exit, or leave at least some of the position in the hope of letting the winnings run with a trailing stop?
The consensus is about 5 technical indicators that in the balance indicated between sufficient information to make appropriate decisions and not too much for you do not suffer from an information overload, paralysis by analysis. Practically, a precise combination of forex indicators can mean anything from three to seven indicators; ultimately it is your decision. You don’t have to get attached to the same tools all the time; just limit the number you’re seeing at a certain point. Those negotiating over longer periods of time have more time and can afford to see more indicators. They should also be more informed about the key long-term indicators of:
The savings of the currencies they are trading.
The macroeconomic engines of the global economy push the appetite for risk and influence all markets all the time.
This is very critical. As a minimum, it involves following a few fundamental analyses to read and at least an indicator that gives you a big perspective like the S&P 500 index (and what is driving it in the period of time you chose).
Continue reading for more information or start risk-free trading and combine the best fórex indicators in a successful way. Use software to create Expert Advisors to test and optimize your strategy and use it as a fórex robot for automated trading.
Recommended Forex Indicators
While the number of indicators you choose may vary with your preferences, needs, and trading style, the main principle in selecting your toolkit of indicators is to have a balance that gives you a good perspective of the different types of information you need, specifically:
- Trading trend or range
- Momentum
- Support/Resistance
- Timing or cycles
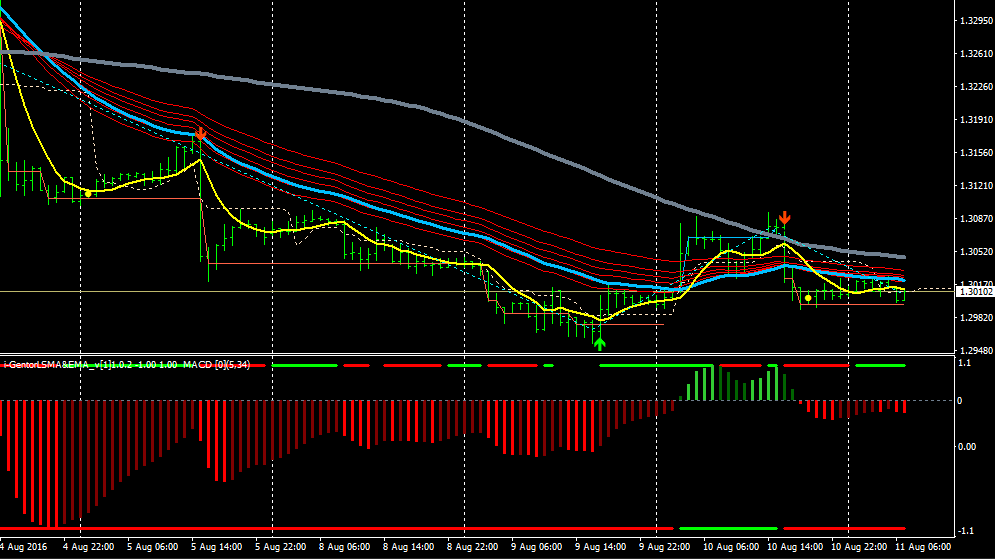
Trend or Range of Indicators
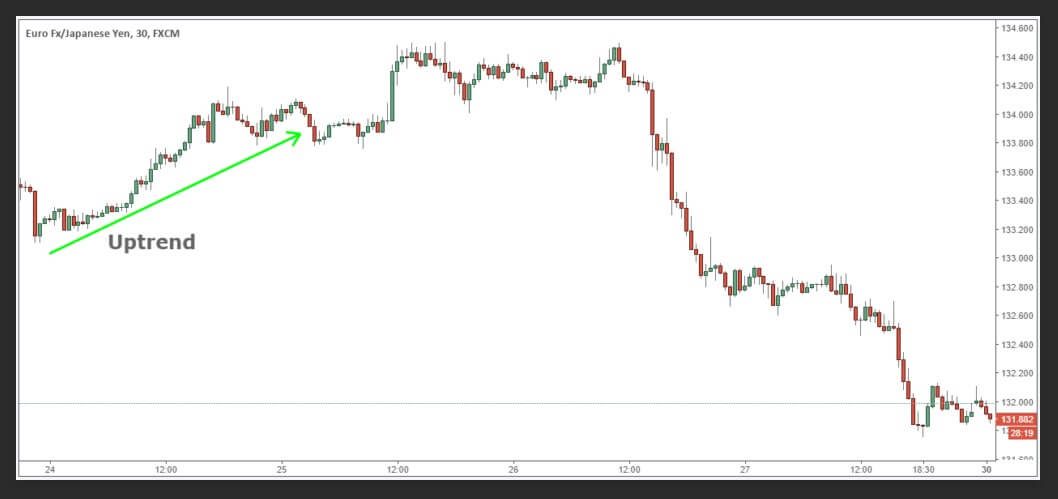
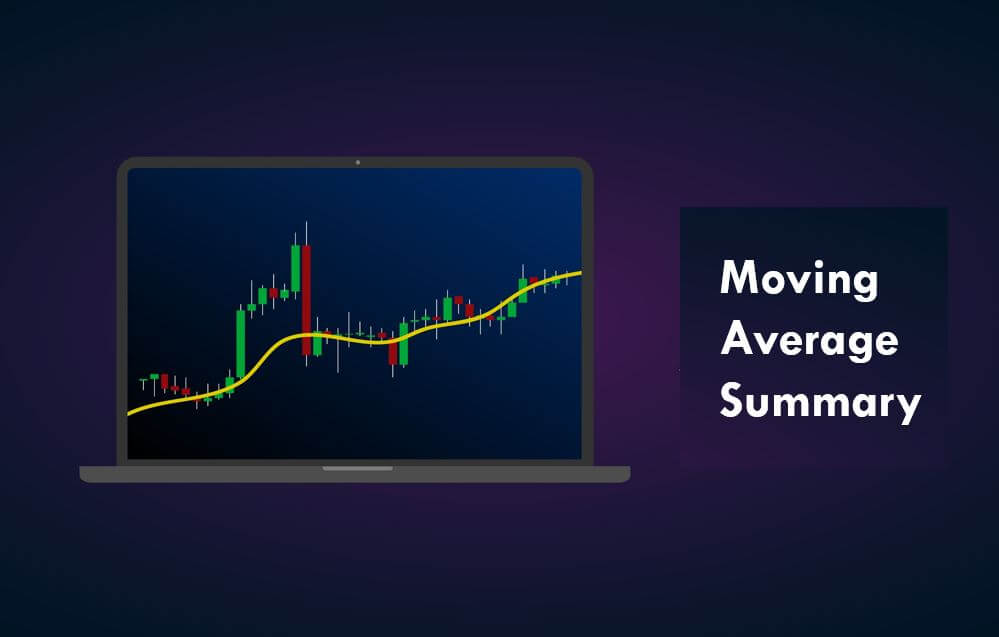
Indicators that follow trends, as the name suggests, are designed to take advantage of market trends. Examples of these include moving averages (Mms), the average directional index (ADX), and on-balance volume (OBV).
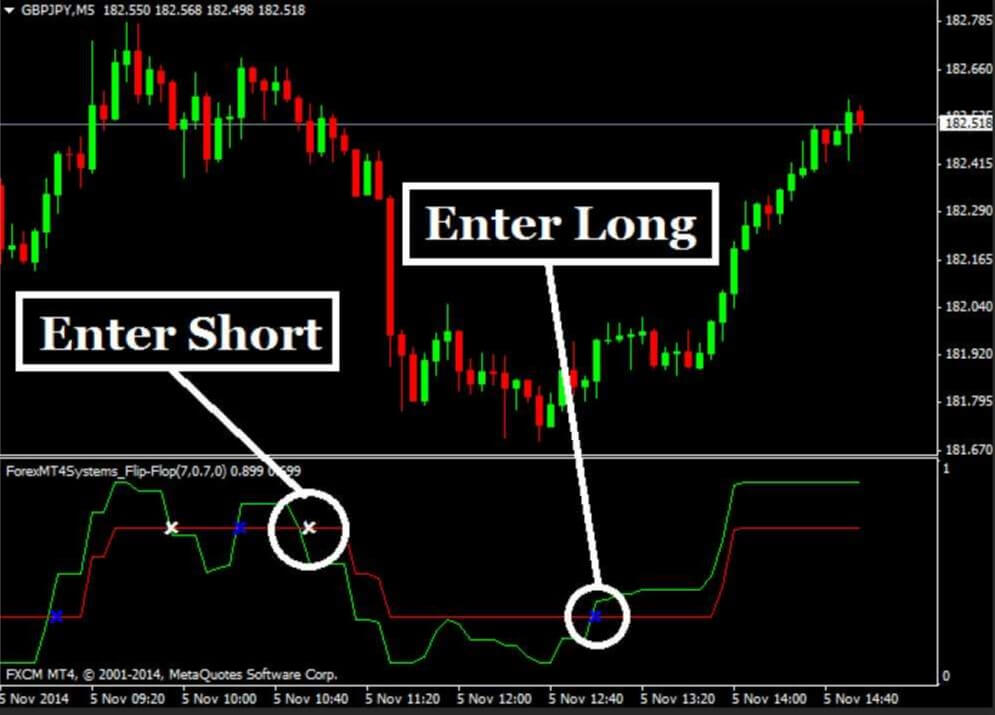
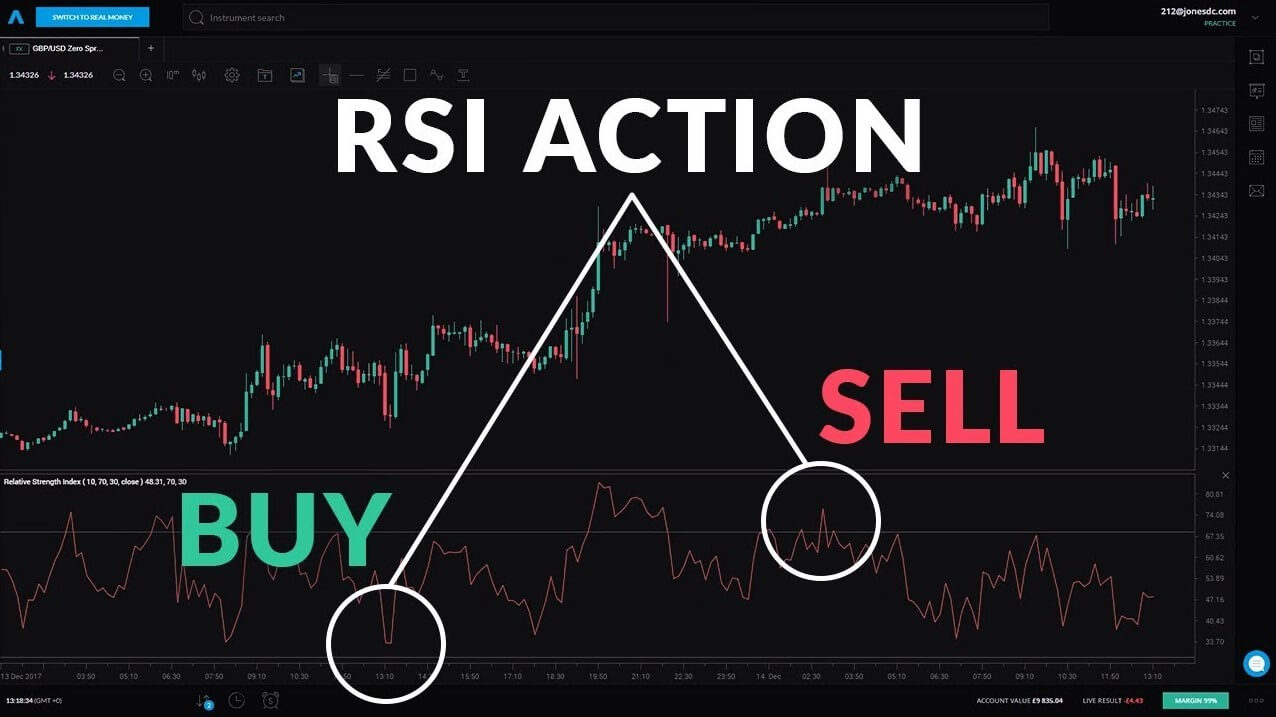
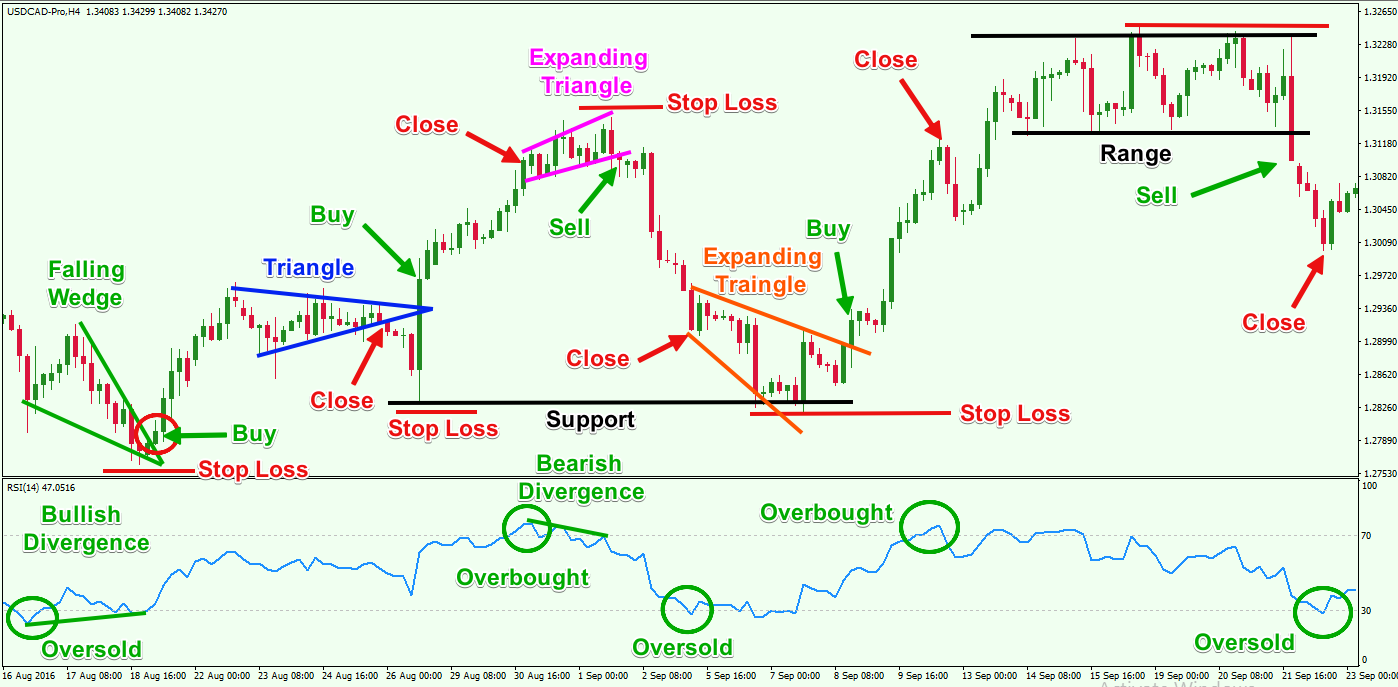
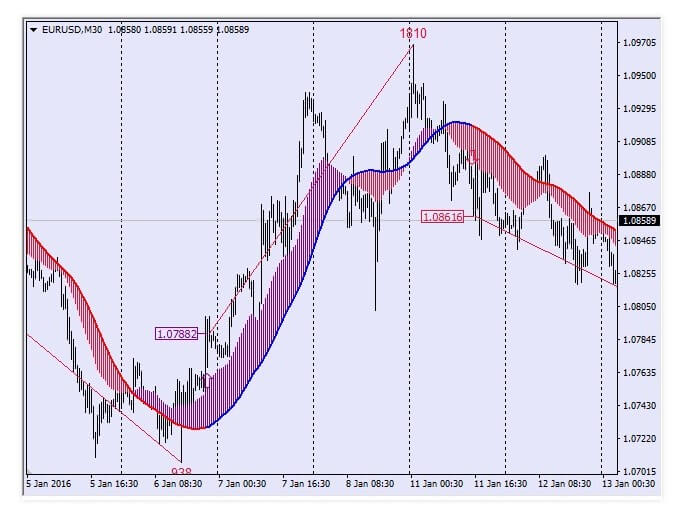
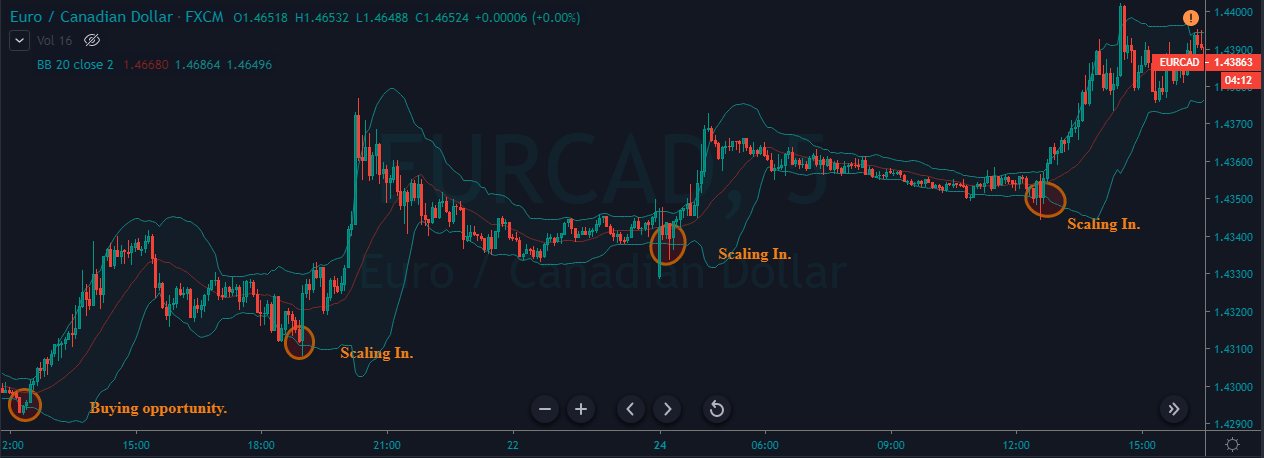
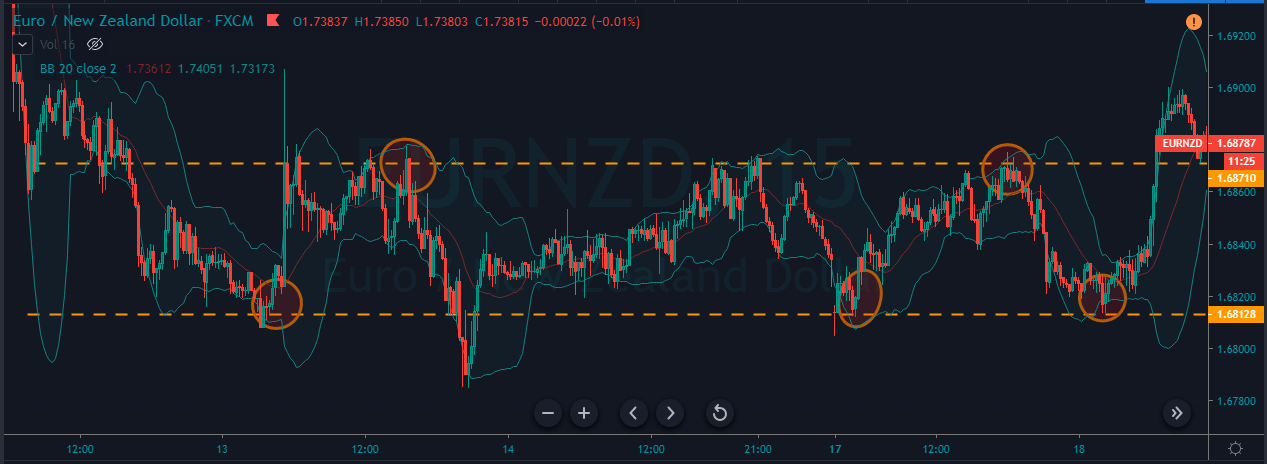
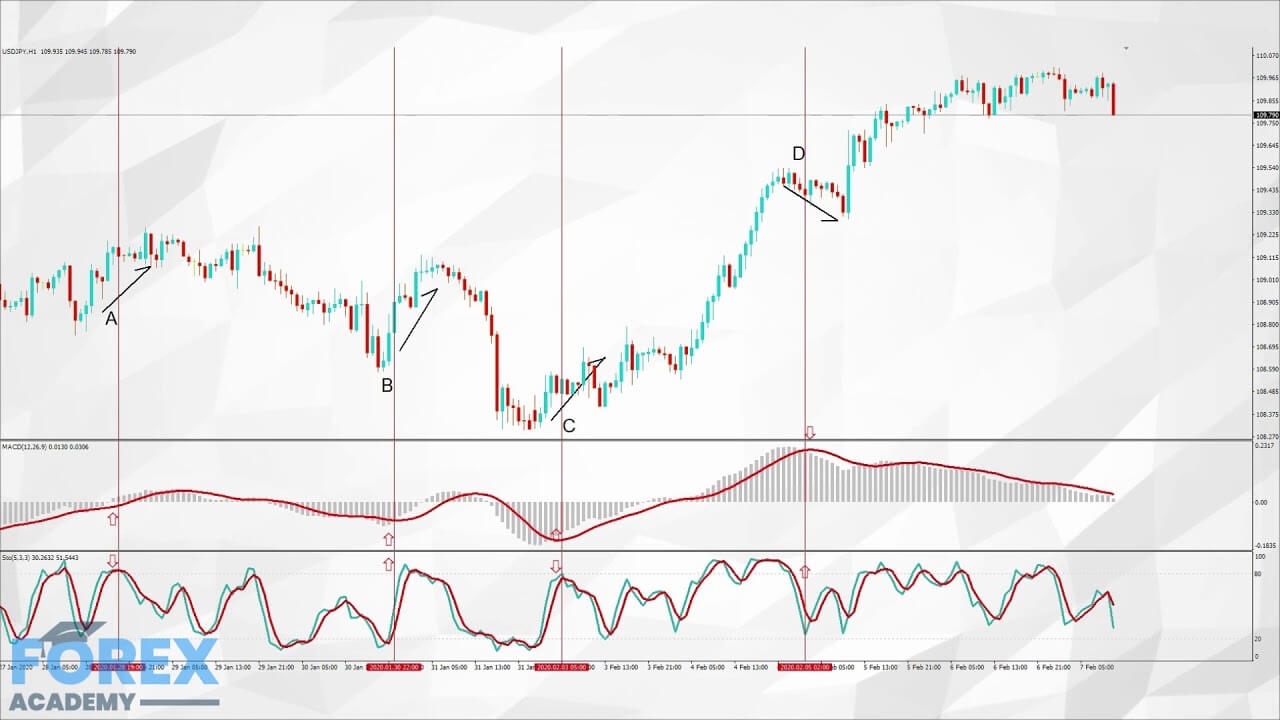
Range-based indicators are mostly designed to show oversold and oversold conditions in a price range that includes Bollinger Bands, the Commodity Channel Index (CCI), the Relative Strength Index (RSI), and the stochastics indicator. Some indicators, such as the moving average convergence divergence (MACD), can be used to generate either a trend-following signal or a range-based signal depending on the time periods used in the calculations.
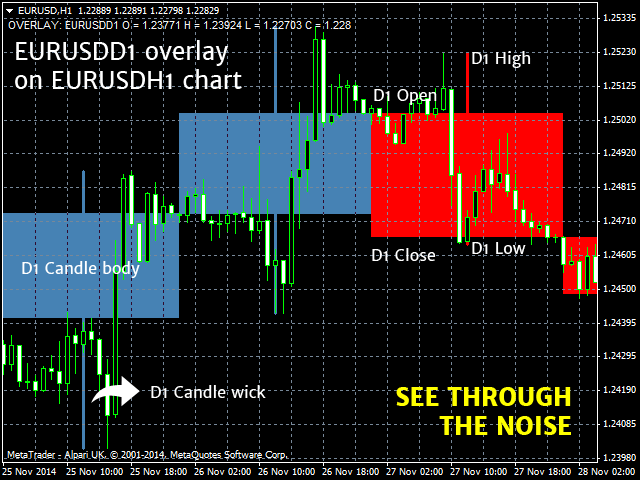
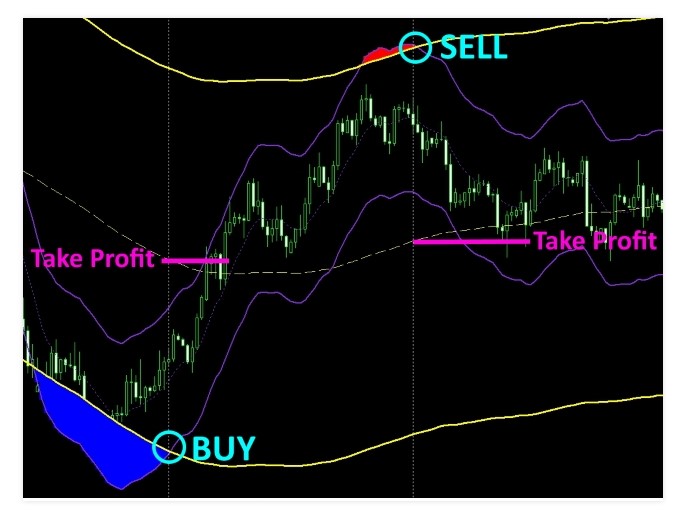
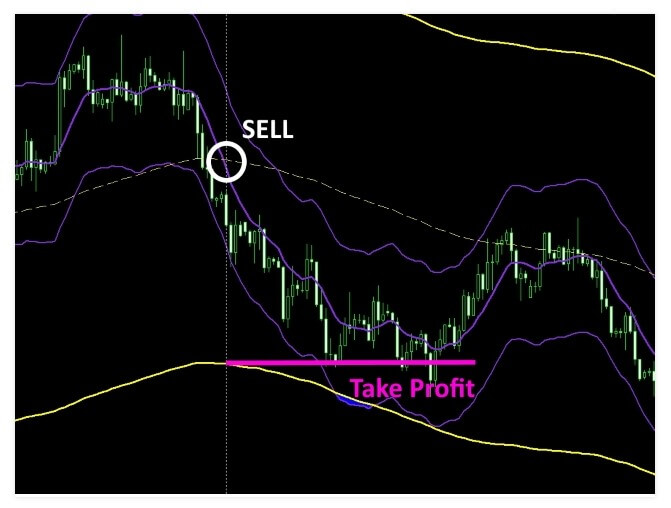
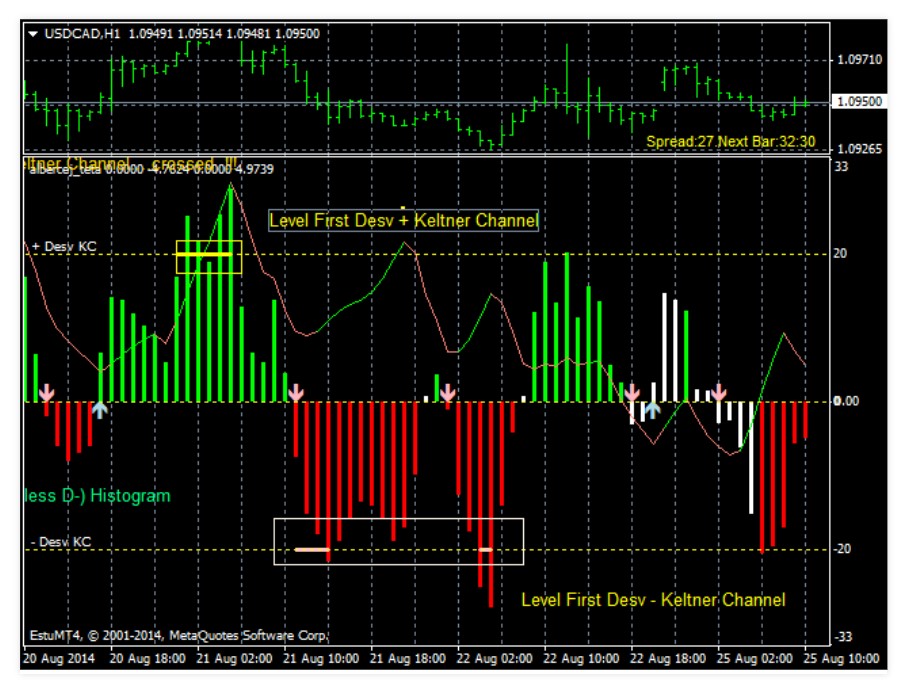
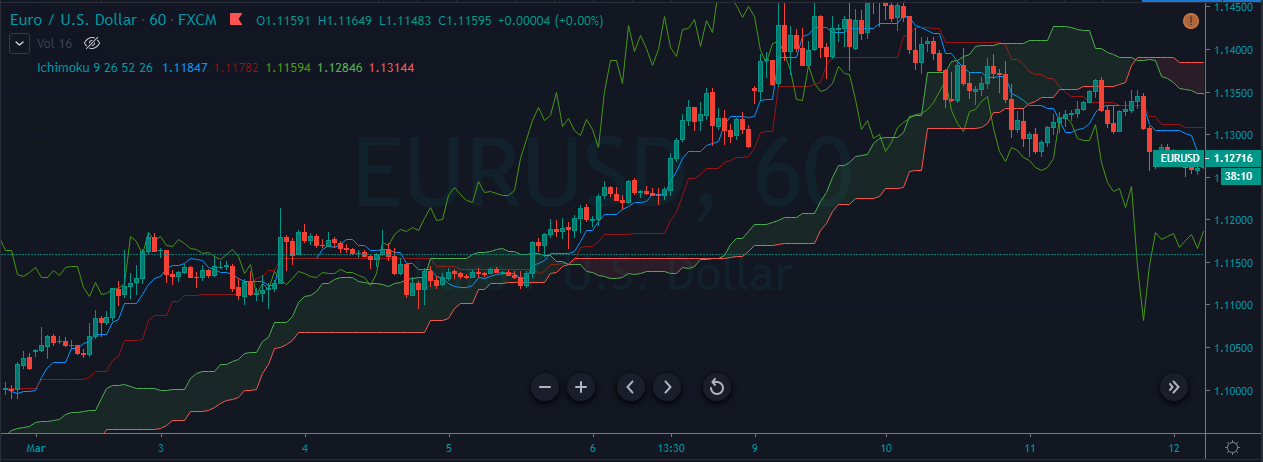
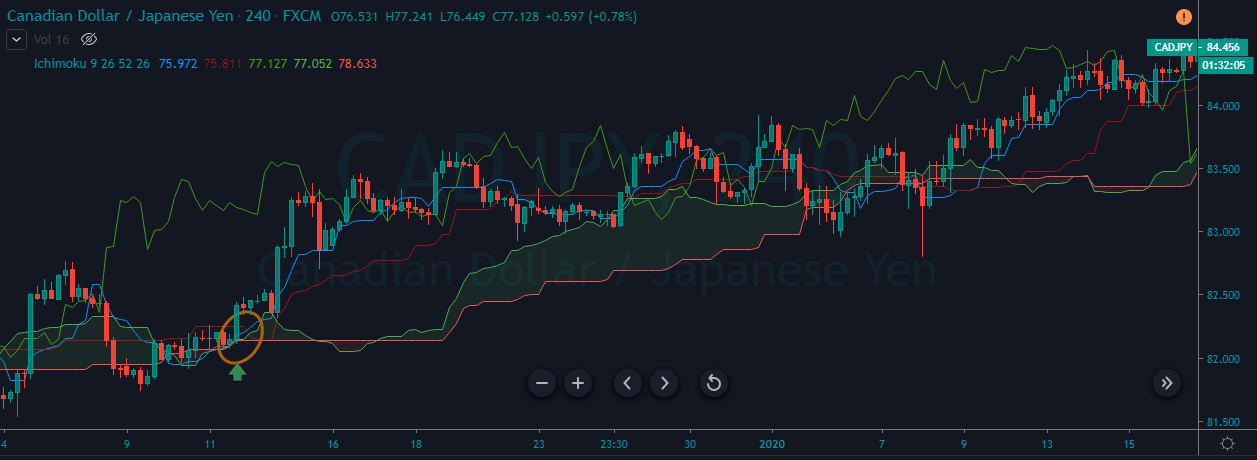
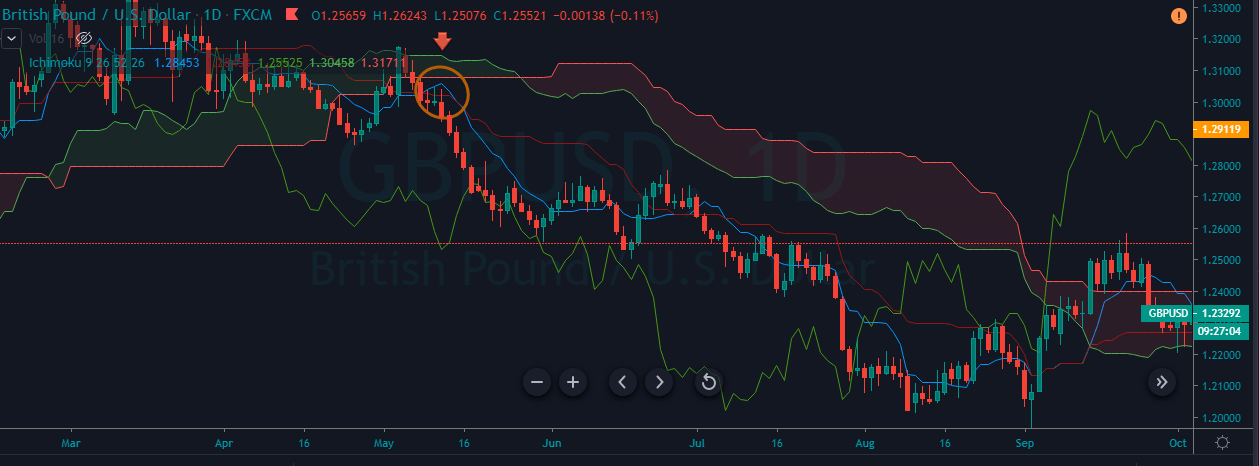
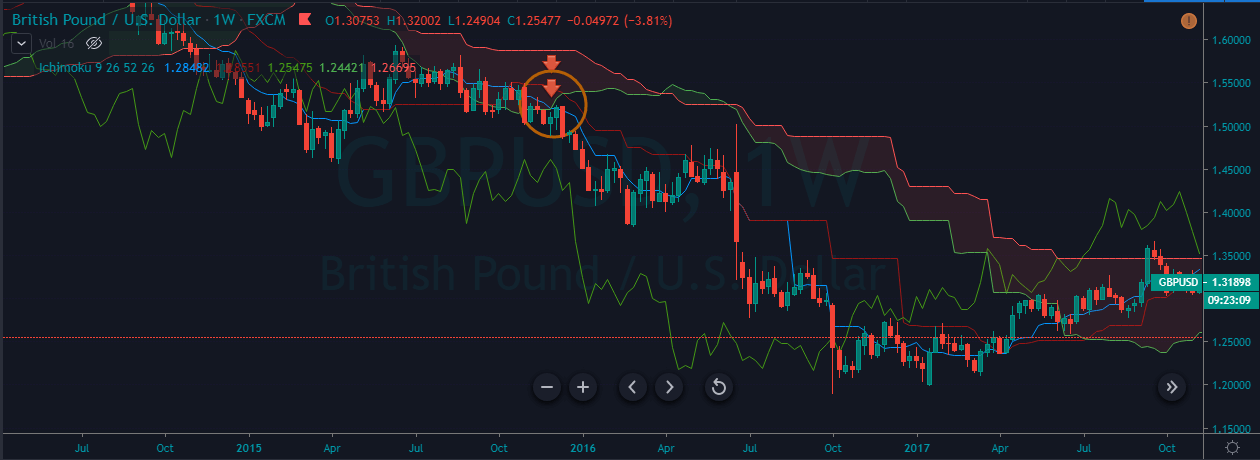
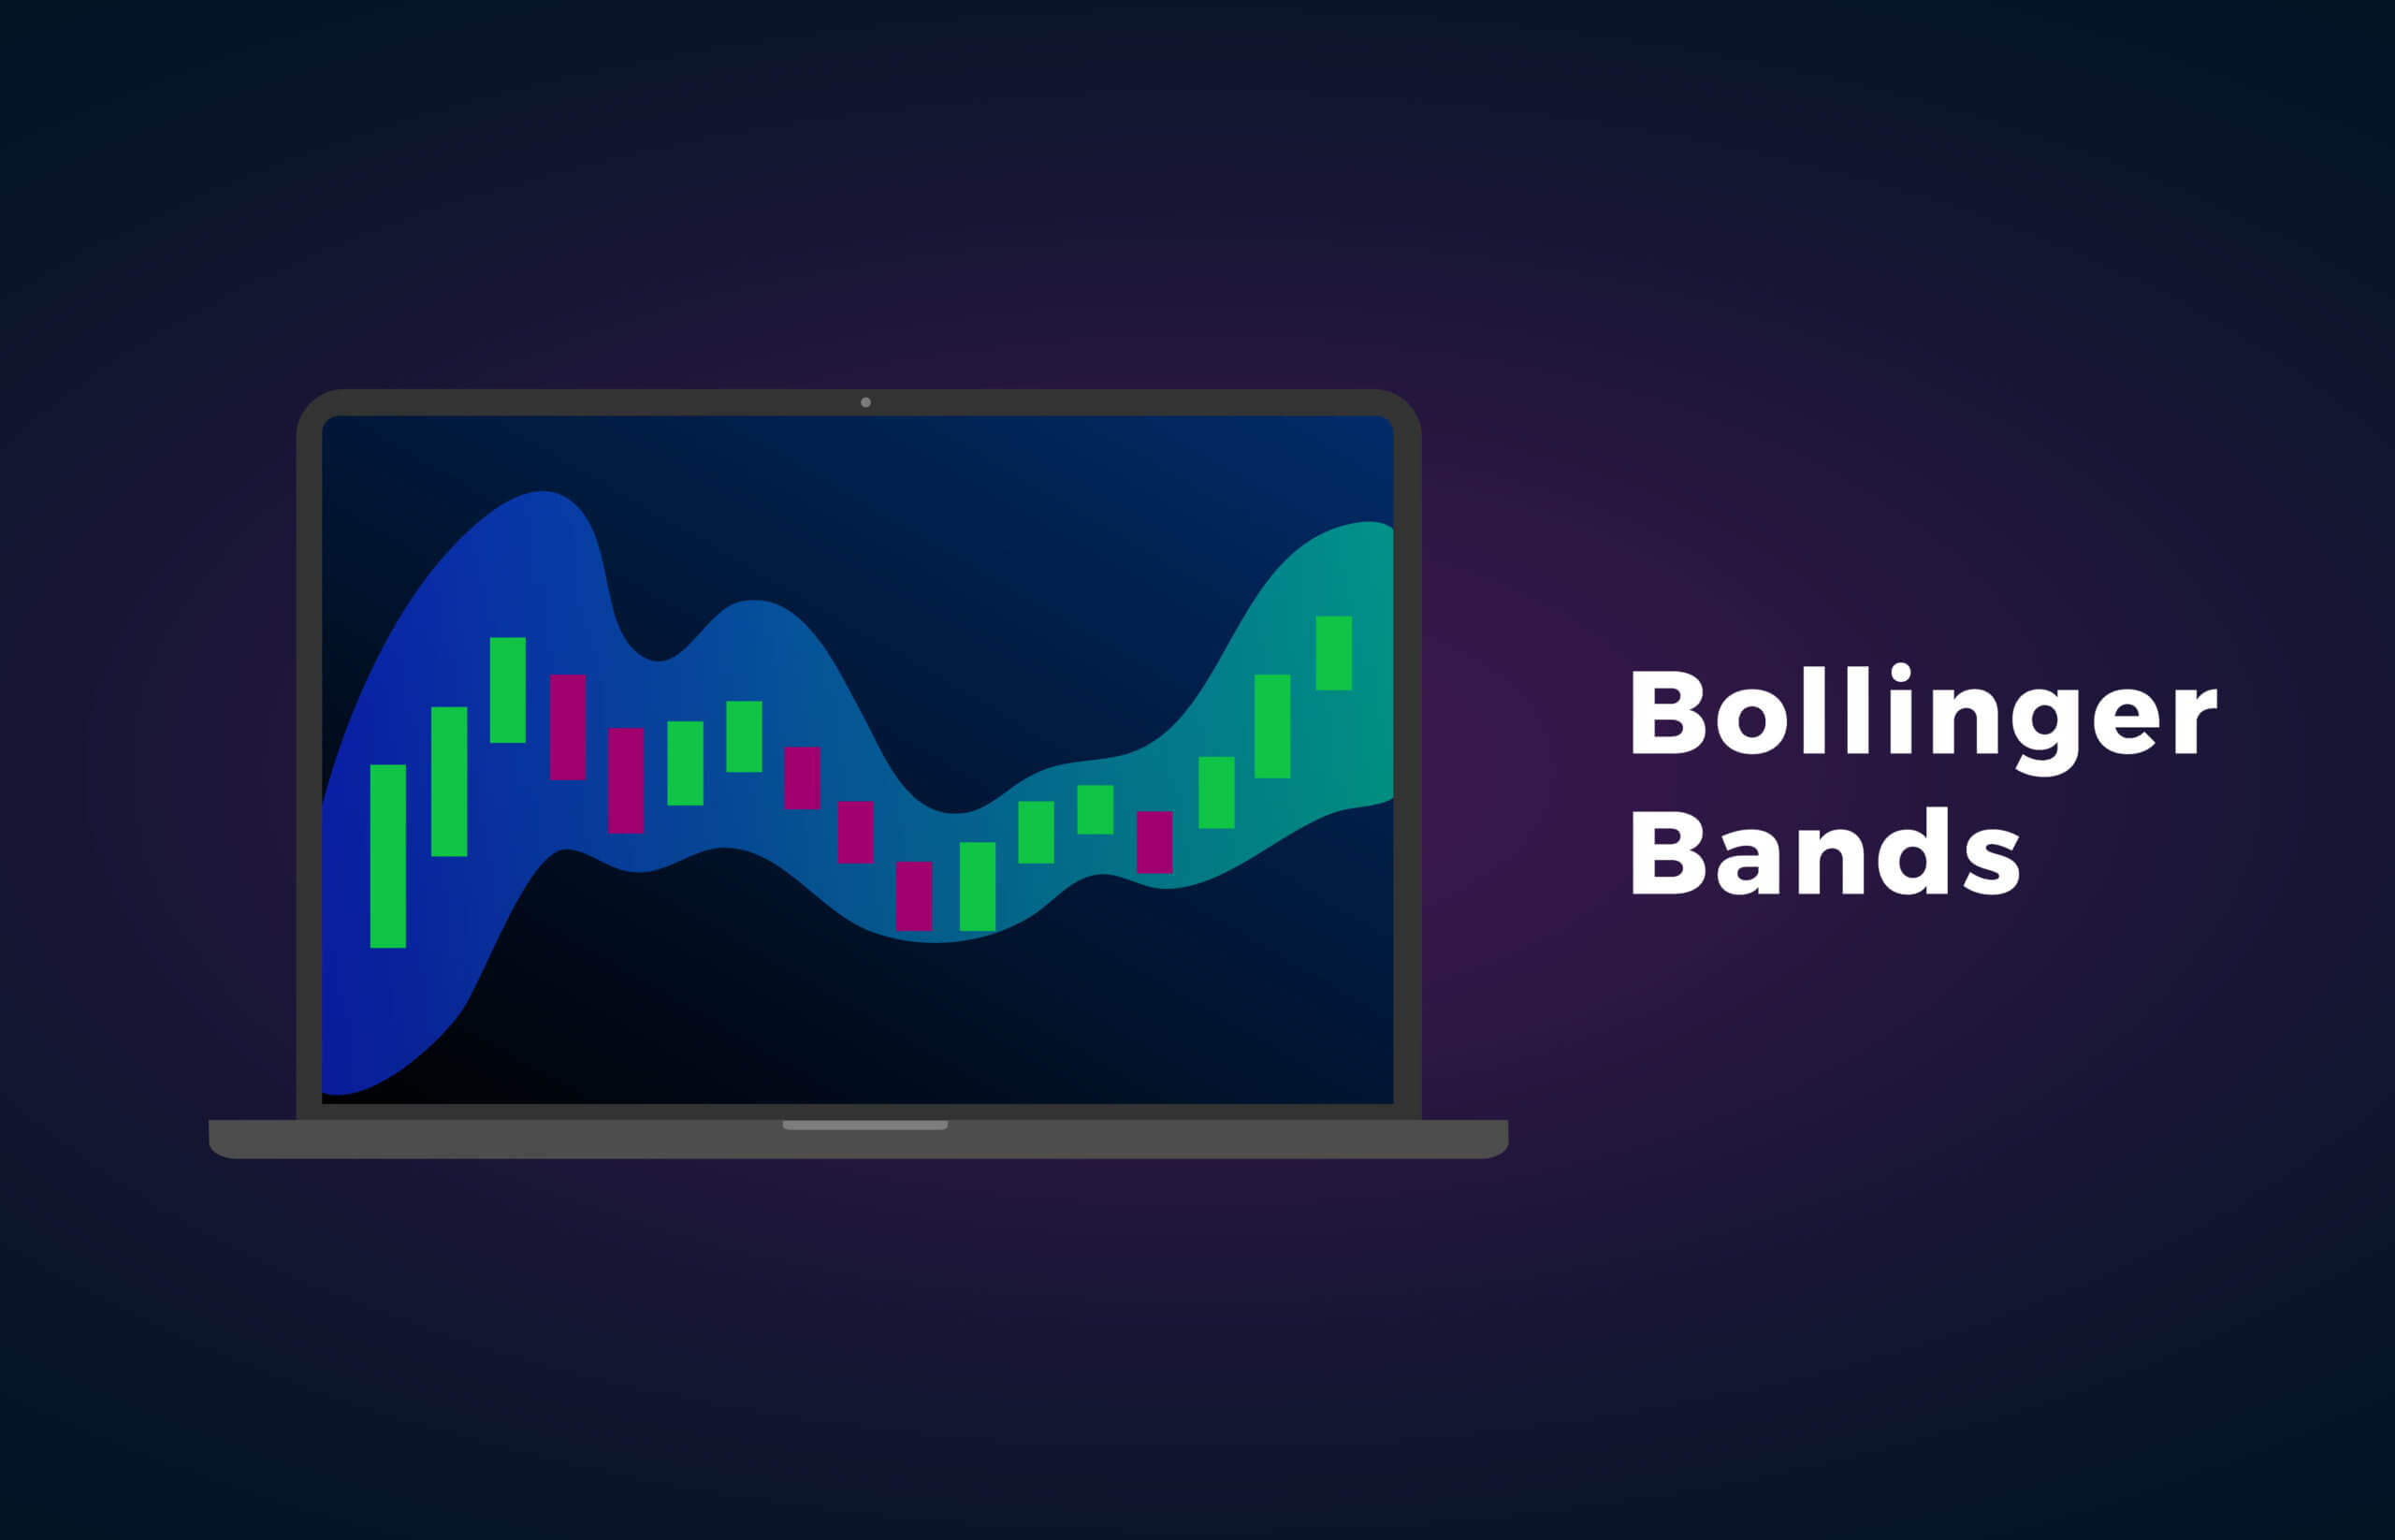
Probably the best fórex indicator in the world is the Double Bollinger Bands -The Bollinger Bands with a brilliant extension. Dbbs are really a hybrid trend and an indicator of momentum. In markets where there is a certain regression to the average, the DBB provides points of support and resistance(s/r). When there is a trend, they show the momentum of the trend and the power to stay probably.
:max_bytes(150000):strip_icc():format(webp)/dotdash_Final_Four_Types_of_Forex_FX_Trend_Indicators_Nov_2020-01-df673b5bd0764b14bc7a6b2b6d53bb55.jpg)
Indicators of Momentum
The basic problem traders and investors have is that they are paid to be correct about what will happen later, but the vast majority of the best-known indicators we have covered so far are lagging indicators rather than leading indicators. They inform us of the past, and with that information, what we can do in the best way is form a hypothesis about the future.
What does a trader do? uses momentum indicators. They are leading indicators because:
They can tell if a trend is strengthening or weakening.
They can tell whether an asset is overbought or over-exploited relative to past activity over a given period, and also indicate whether the trend is likely to reverse.
Knowing this can help you predict changes and have better returns.
Momentum indicators give you additional clues to put the odds of being right in your favor. There are many indicators of momentum, but now we will introduce only some of the most effective and easy to use:
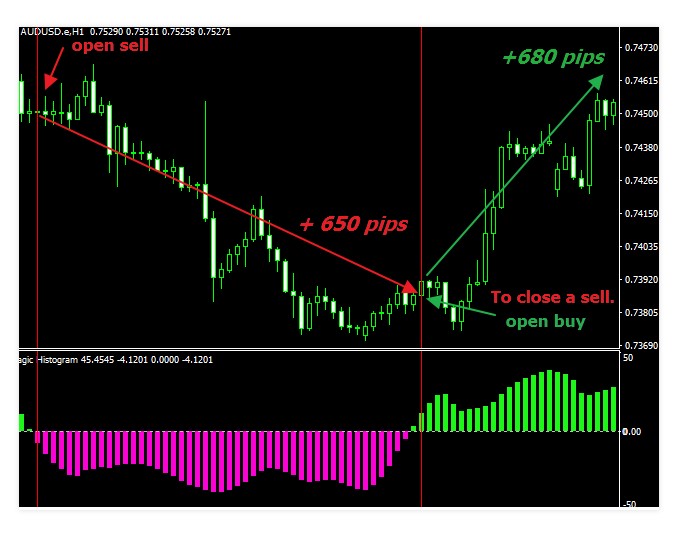
Double Bollinger Bands
Three types of basic oscillators: Moving Average Convergence/Divergence (MACD), Relative Strength Index (RSI), and the Stochastic Oscillator. As with any other indicator, you can use these without knowing how well they work, although if you do, you will be able to use them more effectively and know how to adapt them to your specific situations.
You should consider using the Double Bollinger Bands and one or two oscillators you choose, especially the moving average convergence/divergence (MACD). A few lines of moving averages as we saw before (in periods of 10, 20, 50, 100 and 200) not only serve as indicators of momentum, they also provide points of support and resistance.
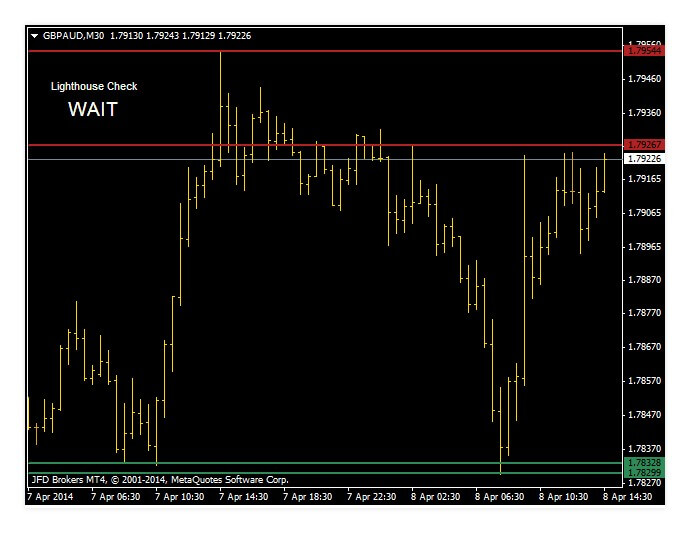
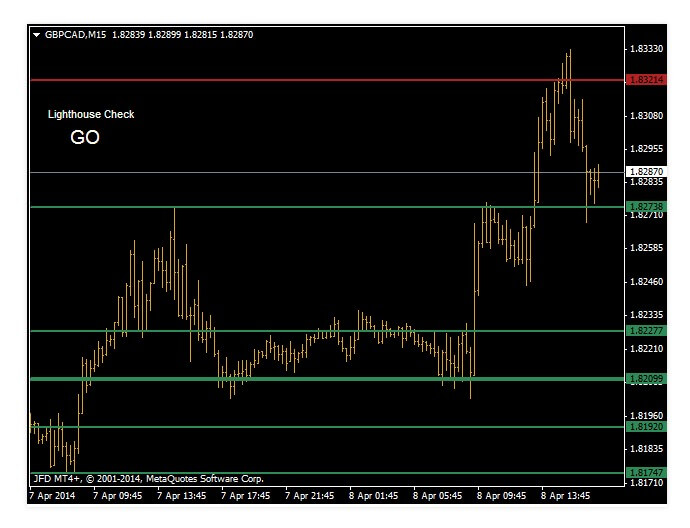
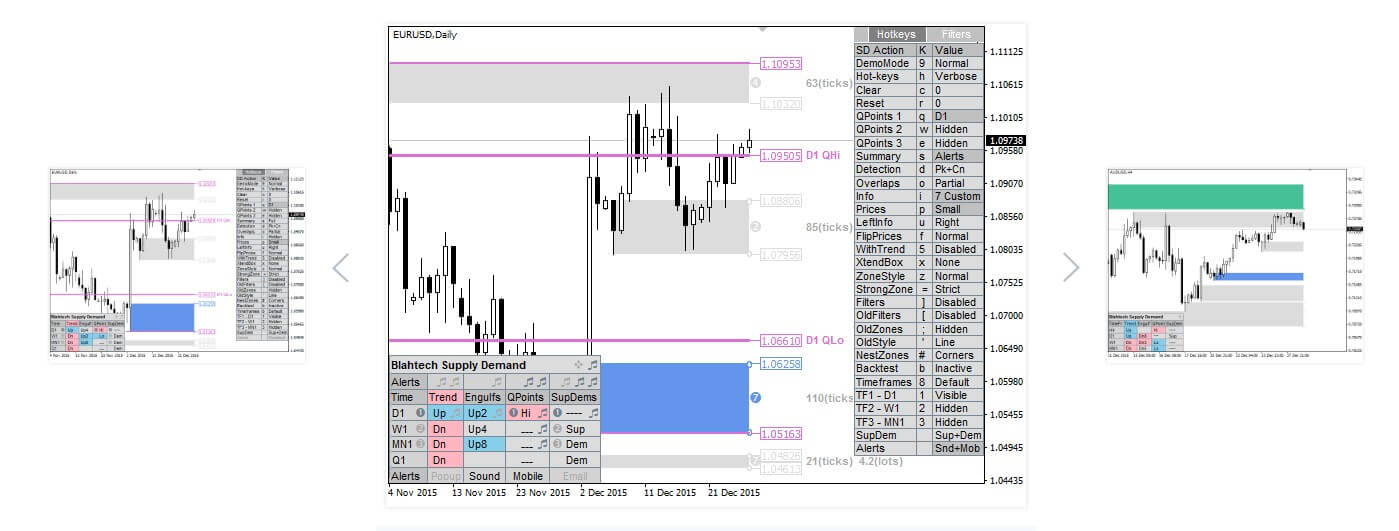
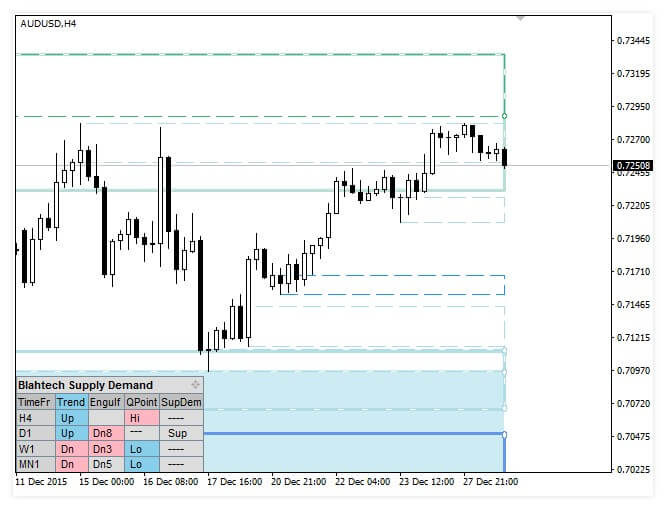
Points of Support/Resistance
To add to the obvious price levels highlighted in your chart ( and in periods 4 or 5 times shorter and longer) you should always see:
- The s/r points generated from the trend or range indicators.
- The s/r points formed by the western style graphs, both their trend lines and the target points involved in new trends.
- The s/r points transmitted by the pivot points.
The use of pivot points should be taken into account. A pivot point is no more than a technical analysis indicator, normally used to determine the market’s major trend over different time periods. The pivot point for it is simply the average of the maximum, minimum, and closing prices of the previous trading day. On the following day, the negotiation at a higher point of the pivot point indicates a bullish feeling, while if below the pivot point indicates a bearish trend.
The pivot point is the base of the indicator, but it also includes other support and strength levels that are projected based on pivot point calculations. All these levels help traders to try to guess where the price might have resistance or support. Similarly, if the price fluctuates around these tells the trader that the price goes in a certain direction.
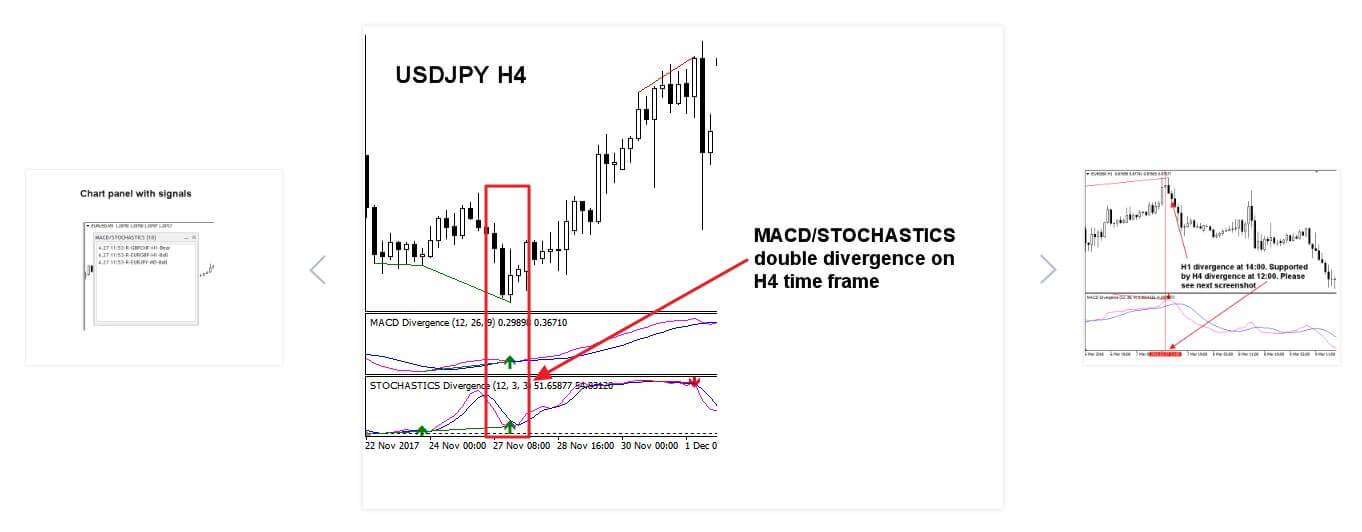
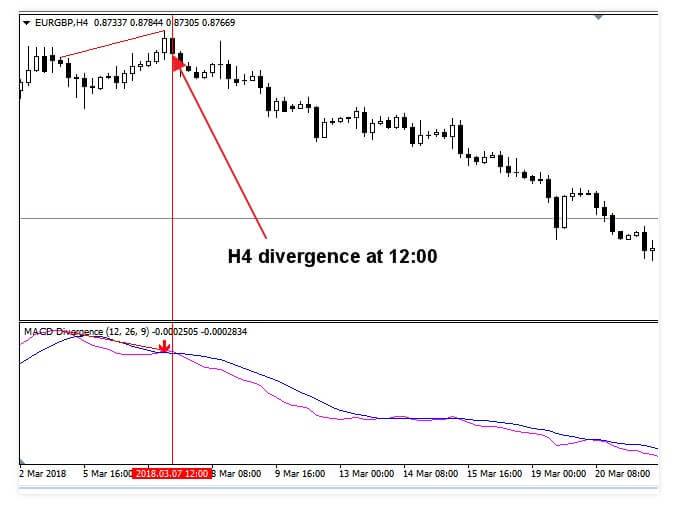
Synchronization or Cycle Indicators
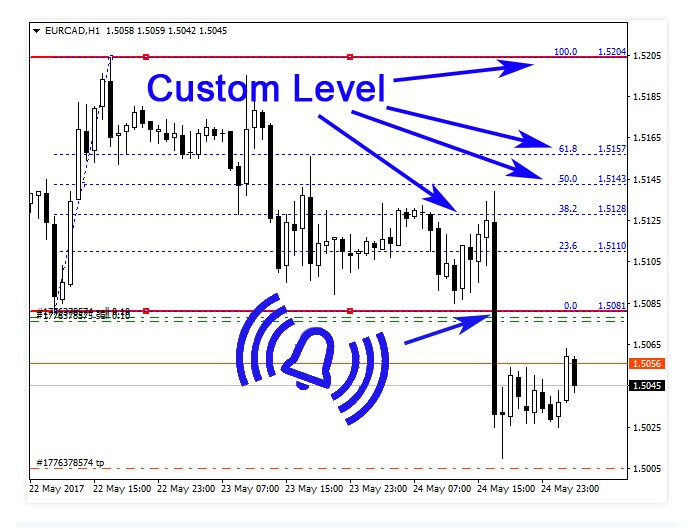
Gann, Fibonacci, Dinapoli, Elliott Wave, and other similar studies are synchronization or cycle indicators. For example, the typical toolkit could include, in addition to any obvious s/r points:
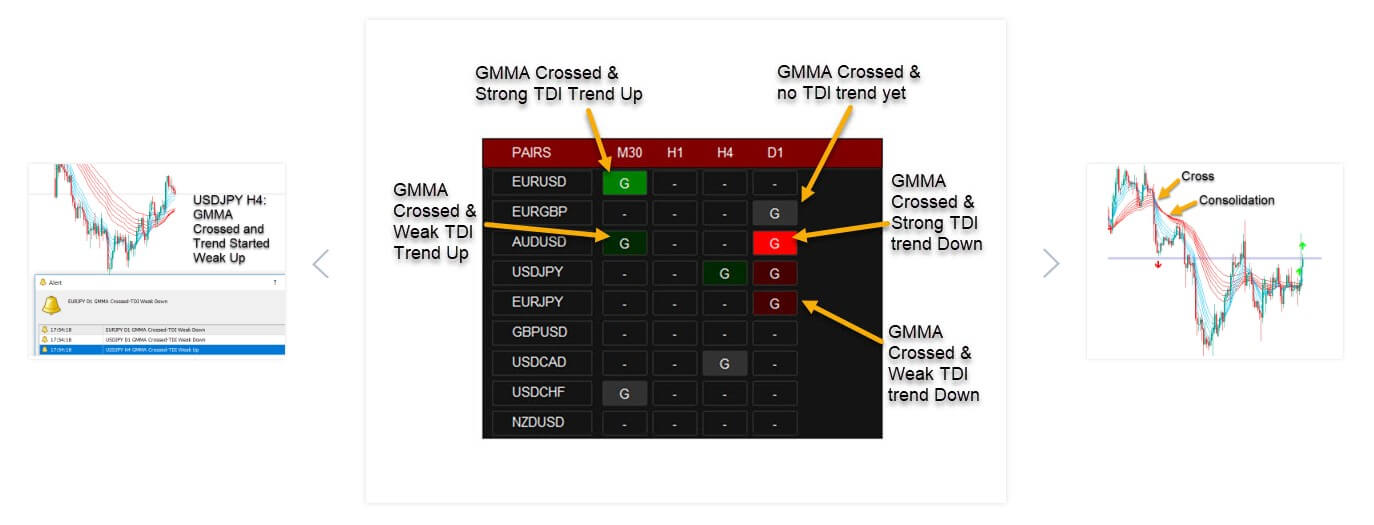
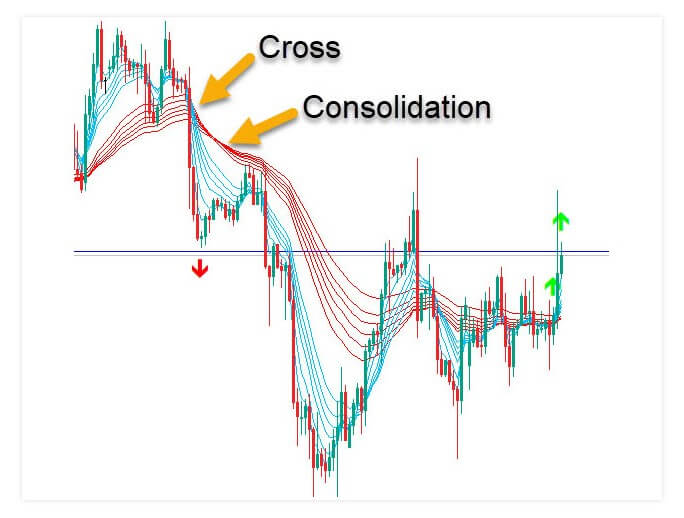
A set of moving averages of periods of 10, 20, 50, 100, and 200: Again, these serve as s/r points as well as momentum indicators if they show a cross or a stratification.
Trend lines and channel lines show the trend and provide points of s/r.
Double Bollinger Bands and MACD show the changes in momentum.
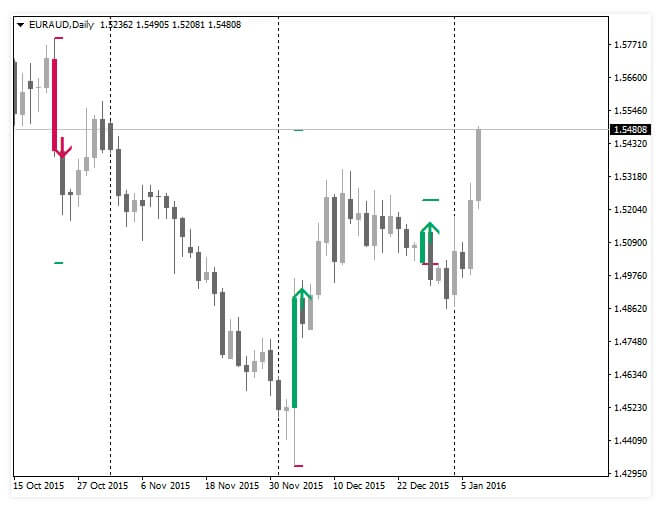
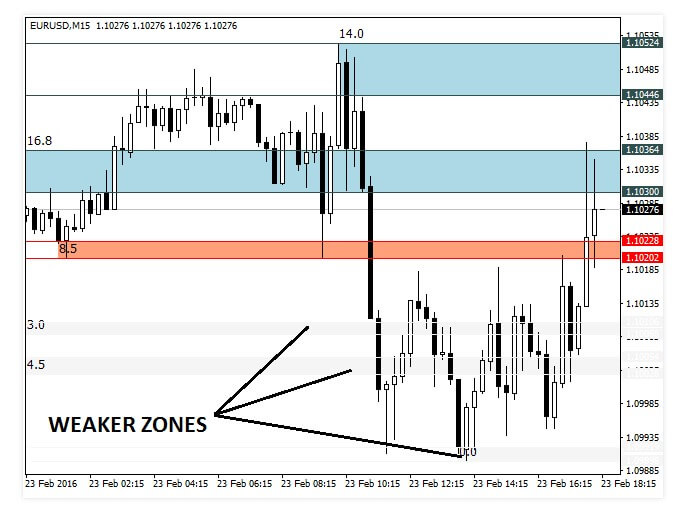
Fibonacci Setbacks One of the most recent trends in every period of time possible are the points s/r. If you need to re-draw these for every period of time you examine, do so, as the primary trend can vary dramatically over different periods of time.
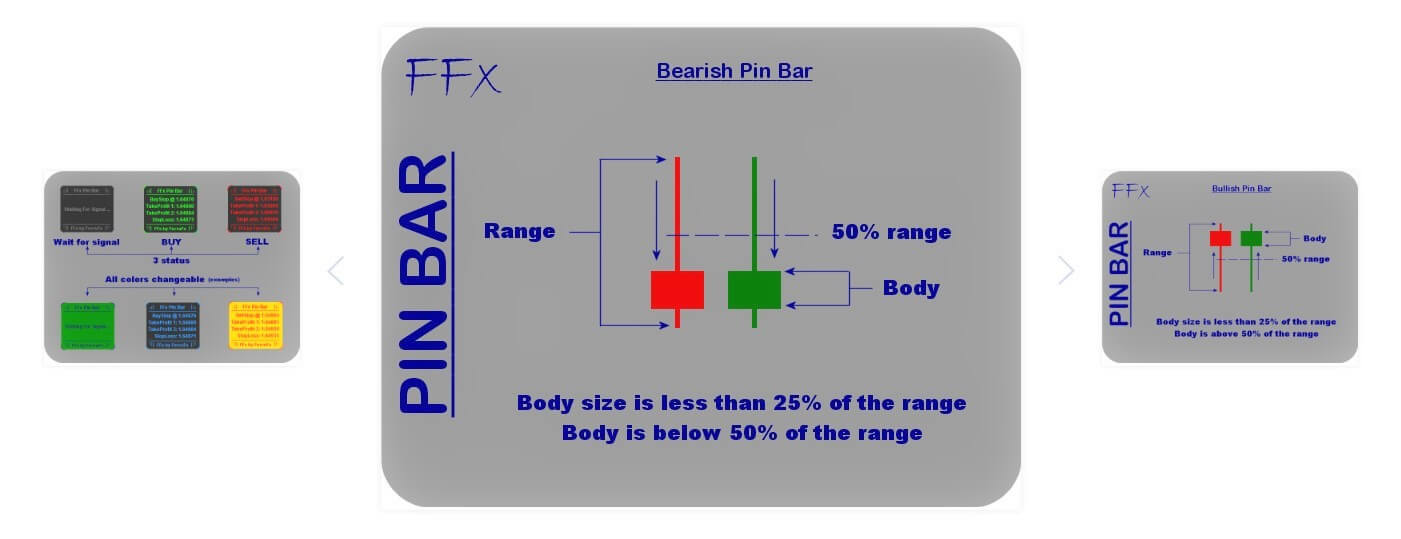
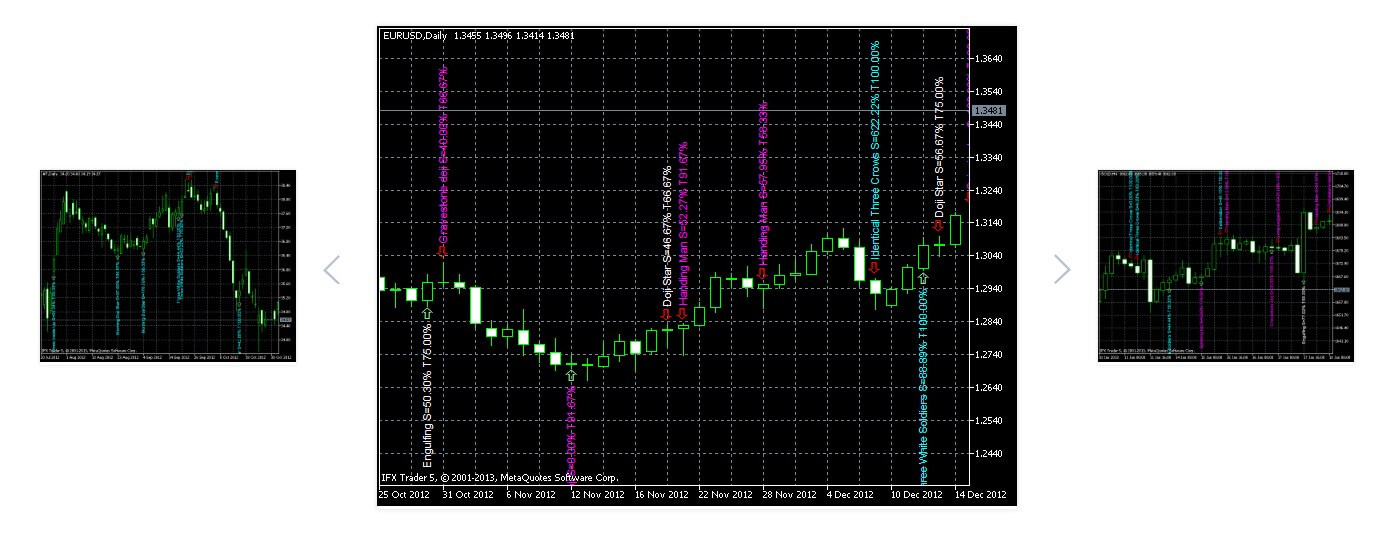
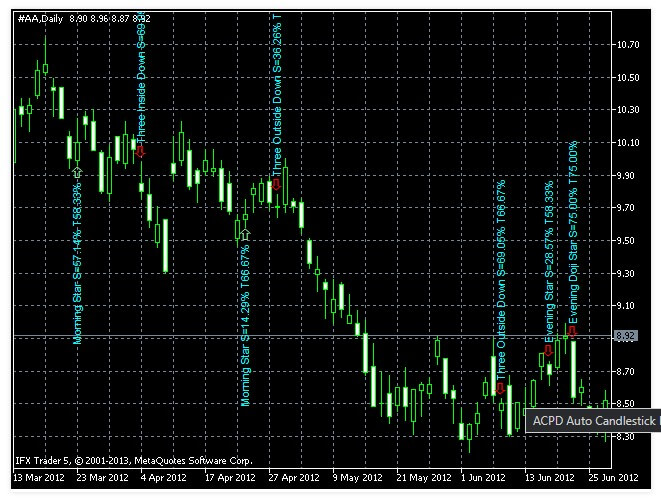
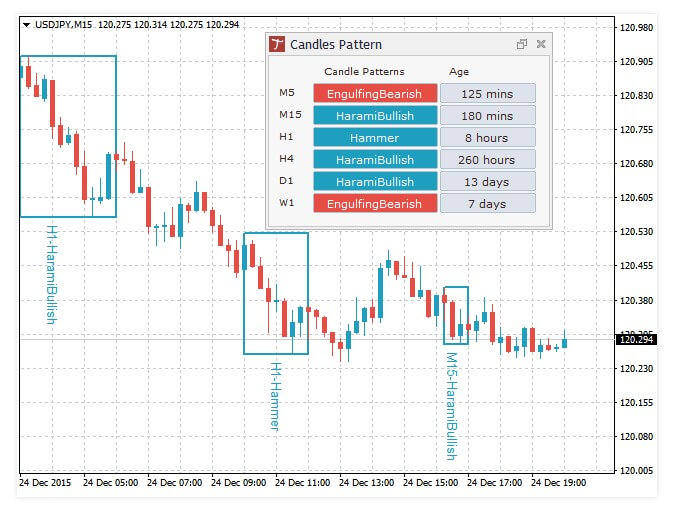
If you can locate any pattern on a western graph, note the levels involved of s/r (maxima, minima, necklines, shoulders, etc.). Japanese candle patterns provide short-term signs of continuing trend or a reversal.
:max_bytes(150000):strip_icc():format(webp)/dotdash_Final_Four_Types_of_Forex_FX_Trend_Indicators_Nov_2020-03-995620c669434f8c907032c46be7e891.jpg)
How to Enter MT5 and MT4 Indicators Into Charts
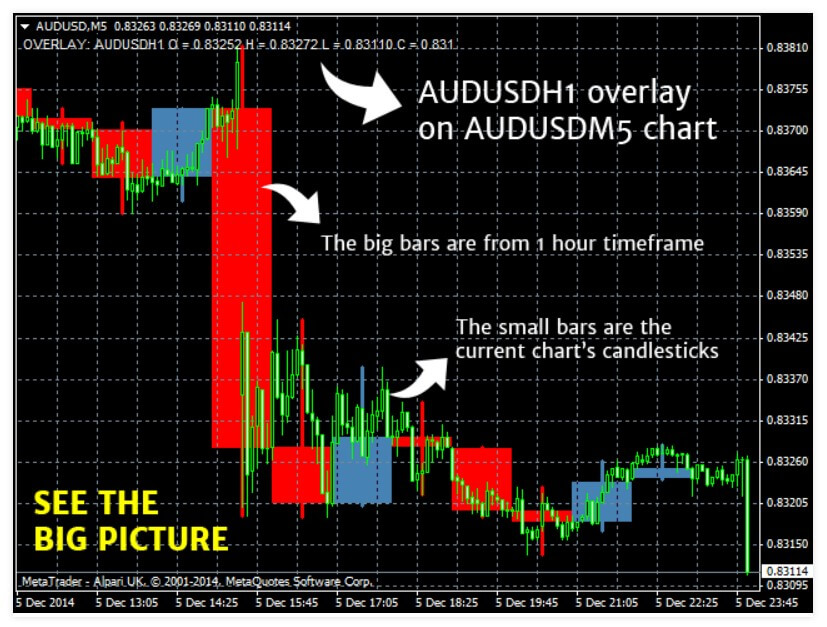
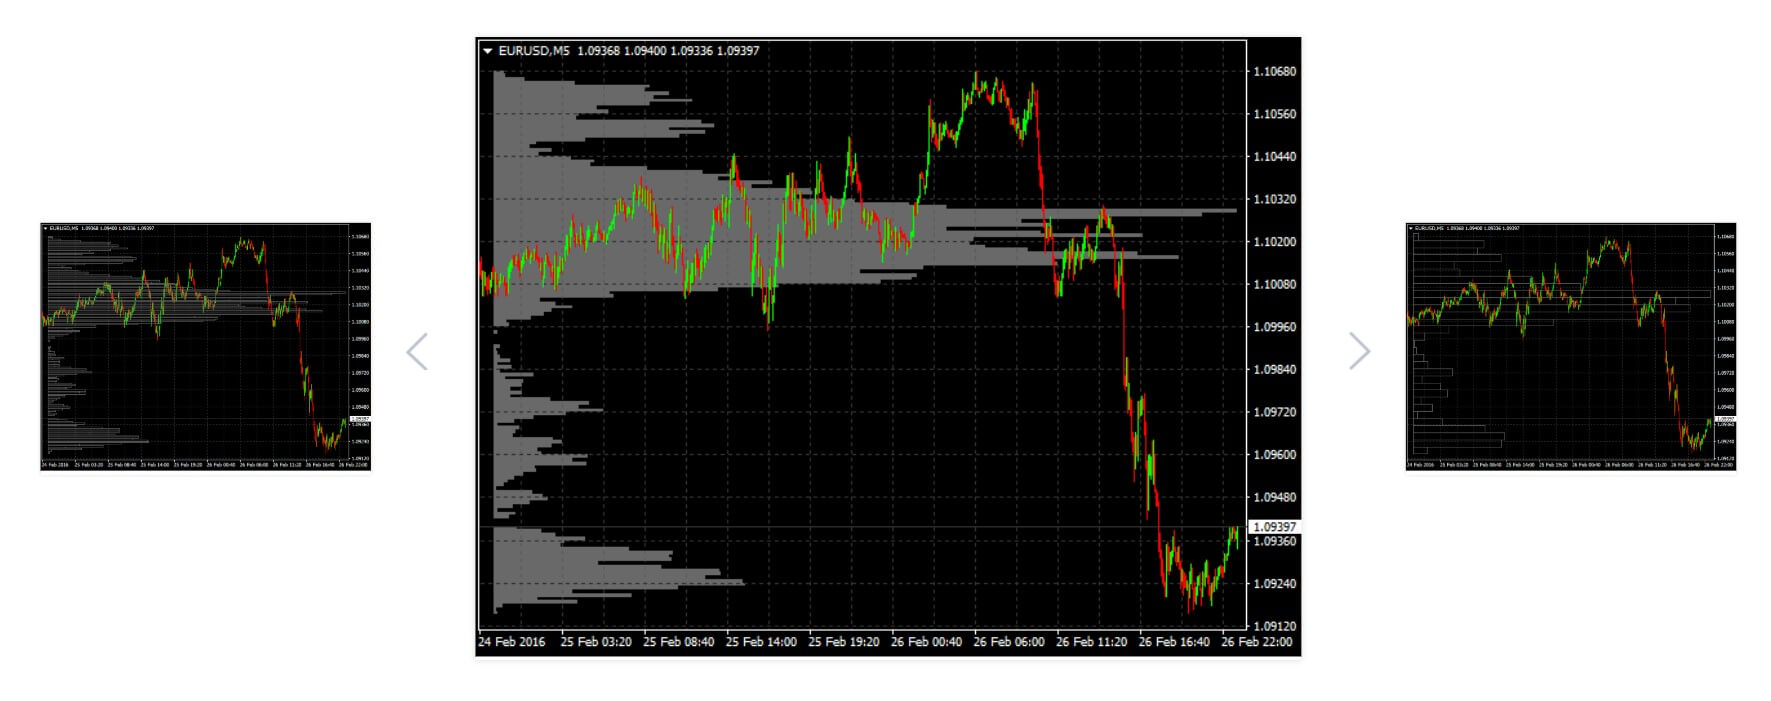
Then you would have to apply this group of fórex indicators to the time period you are negotiating, as well as those 4 or 5 times longer or shorter. For example, if you are trading daily graphs, you should also see the weekly and two or four hours (depending on what defines your trading day whether it is 24 hours or 8 to 10 hours).
A good graphics program that includes the Metatrader 5 will allow you to store any group of indicators you want since a model on the chart can be applied to any chart of any asset your broker offers.
The purpose of this first visualization in a longer period of time (weekly, in our examples) is to find points of support and longer-term resistance that you should see in the graphs you are negotiating, hoping to find a currency pair that looks like it can reach the s/r área and provide an entry point with a lower risk. That is the first step in locating low-risk, high-yield transactions.
The second visualization would be to examine the possible inputs and outputs in the shortest time periods you are negotiating, to see if you can find situations where your entry point is two or three times further away from the exit point than is your stop loss. The point of taking the winnings is usually easy to see. It is where you can reach the correct stop-loss point that usually determines whether you take the transaction.
The third visualization would be to check in the shortest time period (from two to four hours of the time period in our examples) to see any short-term s/r points, just so you are informed of s/r. time points. If these points are held for much or too often, your transaction may be showing signs that it is failing and you would have to reduce the size of your position. However, these are quickly overcome, this is a sign of progress and a signal to consider adding to your position.
- Run an MT5 indicator on the graph.
The most appropriate way to enter an MT5 indicator is to remove it from the browser window. You can also use the indicator command to insert them from the Insert menu or the indicator button in the standard toolbar.
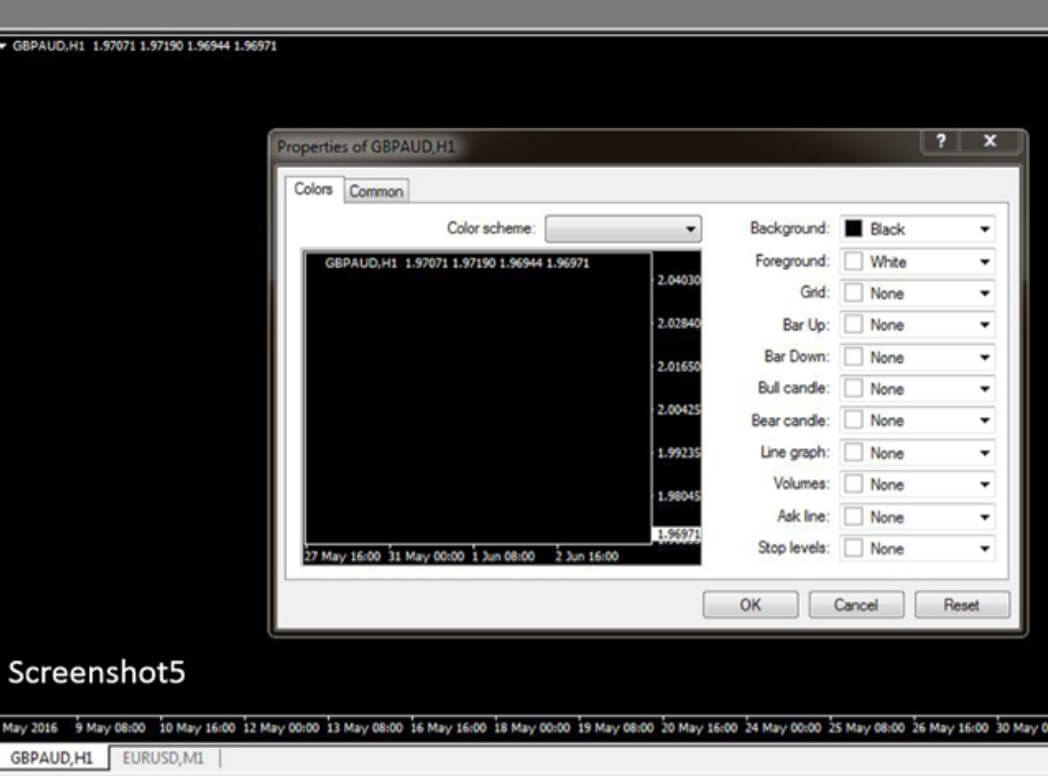
- Change the settings of an applied MT5 indicator.
The settings of using an MT5 indicator can be changed. Select the required indicators in the list of indicators and click on “Properties” or use the menu of indicators in the graph.
Use the menu to manage the indicators:
- Indicator Properties Properties – opens the properties of the indicators;
- Delete Indicator Delete Indicator – Deletes the selected indicator from the graph;
- Delete Indicators Window Delete Indicator Window – deletes the indicator subwindow. This command is only available in the indicator menu which is in a separate sub-window. ;
- List of indicators Indicator List – Opens the indicator list window.
- Move the cursor to a line, symbol, or to the limit of a histogram of an indicator, it is possible to define quite precisely the value of the indicator at this exact point.
- Customize the MT5 display appearance
You can customize the appearance of the indicators on the trading platform. You can configure the parameters of the indicators on your trading platform. You can configure the indicator parameters when you apply them to the graph or you can modify them later. The appearance of the indicator is adjusted in the tab “Properties”.
The Color, width, and style of the indicator are configured in the “Style” field.
- Choose data to draw an MT5 indicator.
Technical indicators can be graphically based on price data and their derivatives as (Median Price, Typical Price, Weighted Close), also based on other indicators. For example, you can apply the moving average to an oscillator and have an additional AO signal line. First of all, it is mandatory to draw the indicator AO, and once drawn apply the moving mean to it. In the MM configuration select the option, “Previous Indicator’s Data” in the “Apply to” field. If you choose “First Indicator’s Data”, MM will be applied to the first indicator, it can be another indicator.
There are nice variants for the construction of an indicator:
- Close – Based on closing prices.
- Open – Based on opening prices.
- High – based on maxima.
- Low – Based on minimums.
- Median Price (HL/2) – Based on medium price: (High + Low)/2.
- Typical Price (HLC/3) – Based on typical price: (High + Low + Close)/3.
- Weighted Close (HLCC/4) – Based on average heavy closing price: (High + Low + 2*Close)/4.
- First indicator’s data – Based on values that were first applied to the indicator. The option to use data from the first indicator shall only be available for indicators in a secondary window because in the main window the main indicator is the price.
- Previous indicator’s data – based on previous indicator values.
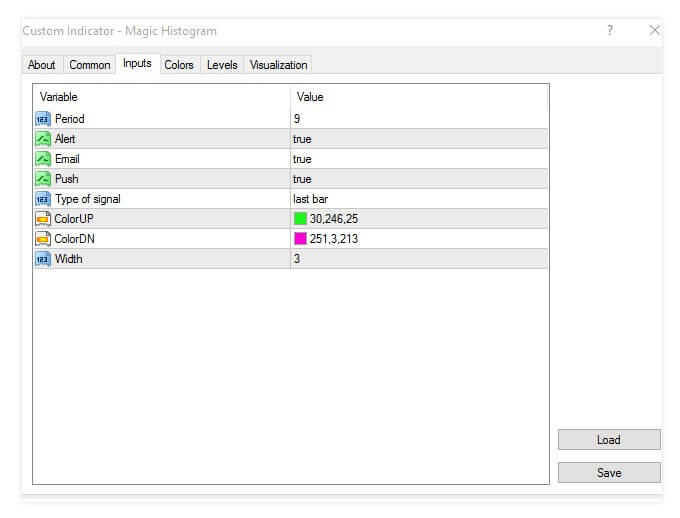
- Configure additional MT5 indicator levels.
For certain indicators, it is possible to enable additional levels. Open the tab “Levels” and click on “Add” and then enter the value of “level” in the table. You can also add the description of “level”.
The line color, width, and style of the levels can be configured below. To edit a “level”, click on “Edit” or double click on the appropriate field.
For the indicators applied to the price chart, the levels are drawn by adding the values of the indicator and the specified level. For indicators drawn in a secondary window, “levels” are drawn as horizontal lines through the value specified in the vertical scale.
- The MT5 display settings.
The display of the indicator for different time periods can be configured in the tab “Visualization”. The indicator shall only be shown for the specified time frames. This situation could be useful when the indicator is intended for use in specific time periods. The “Show in the Data Window” option allows you to manage the indicator information displayed in Data Window.
:max_bytes(150000):strip_icc():format(webp)/dotdash_Final_Four_Types_of_Forex_FX_Trend_Indicators_Nov_2020-05-0112d62d43b64703997192dad9f396e8.jpg)
Combining the Best Forex Indicators
The forex indicators are great to guide us in manual trading. But if what we want is to automate trade and let Metatrader negotiate on its own while doing other things we cannot simply do that using indicators. Metatrader indicators do not contain trading logic. This is where Expert Advisors come in.
There are many tools that will allow you to generate unencrypted fórex robots. This is where we can help you quite a bit. Instead of spending hours coding, testing, changing, and optimizing your robots, we can offer you a tool that does it for you.
Robo-Advisor is designed to help you analyze, test, and generate strategies. It also allows you to export those strategies easily to the Expert Advisors so you can automate your trading on Metatrader.

 Trend confirmation indicators can be categorized to make this process beginner-friendly. Starting with the Zero Cross indicators, they are generating signals based on a line crossing a horizontal zero value line. A typical example of this is the


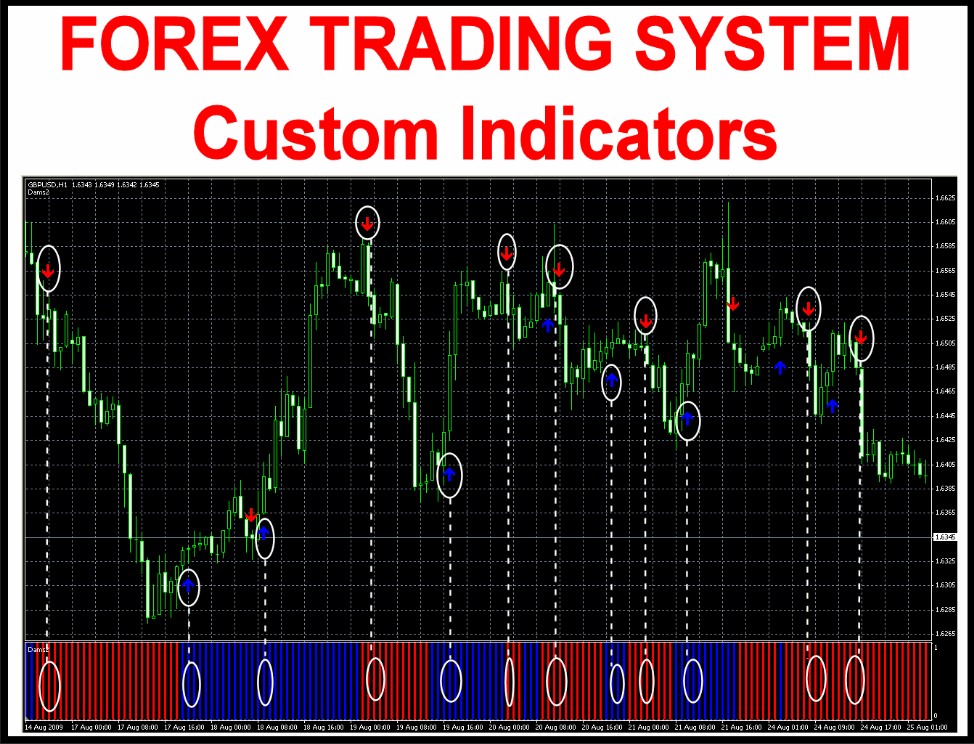


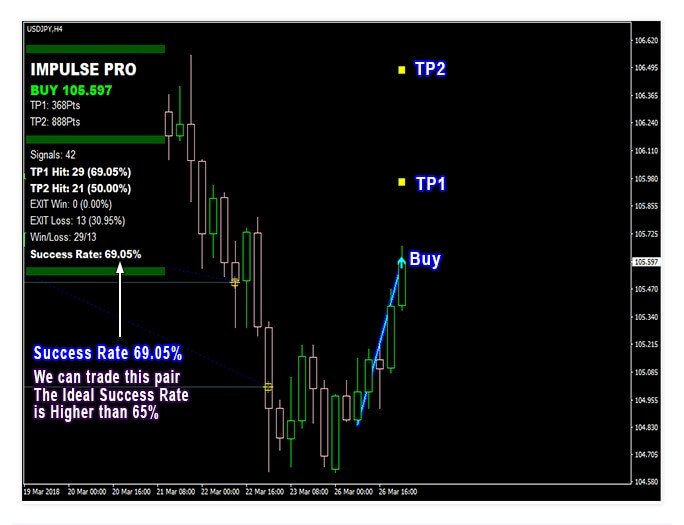
 There is no guesswork with indicators and you can customize settings. Adjust it in the way you like it and make it better than it already is. This cannot be done with Support and Resistance line, right? The best option is that you can combine indicators, and by this, make better results. Everything is going around choosing the right indicators and combining them together to make the system more accurate. One stand-alone indicator will not get anyone anywhere, what is recommendable to do, is to create algorithms – the system of rules to point out to the same signal at the time, which can be used and traded upon.
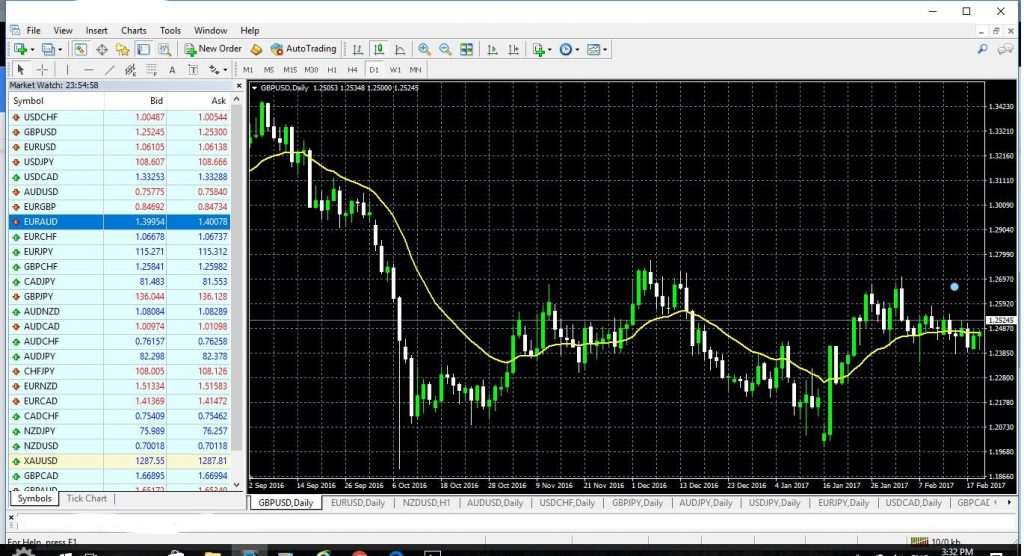


