Categories
Forex Basics

Some Spikes are Not to Be Ignored

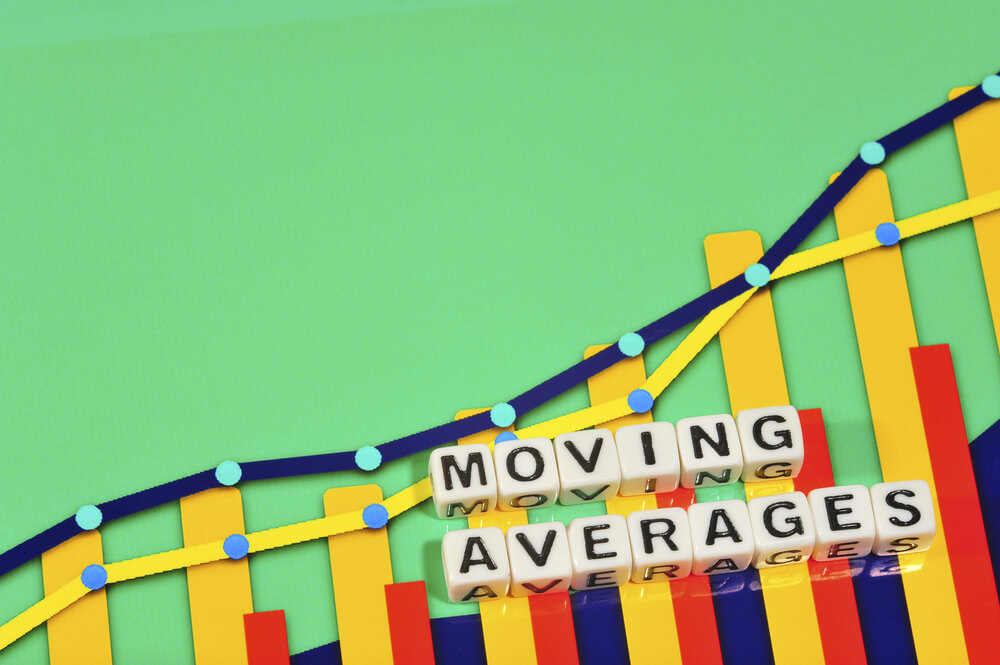
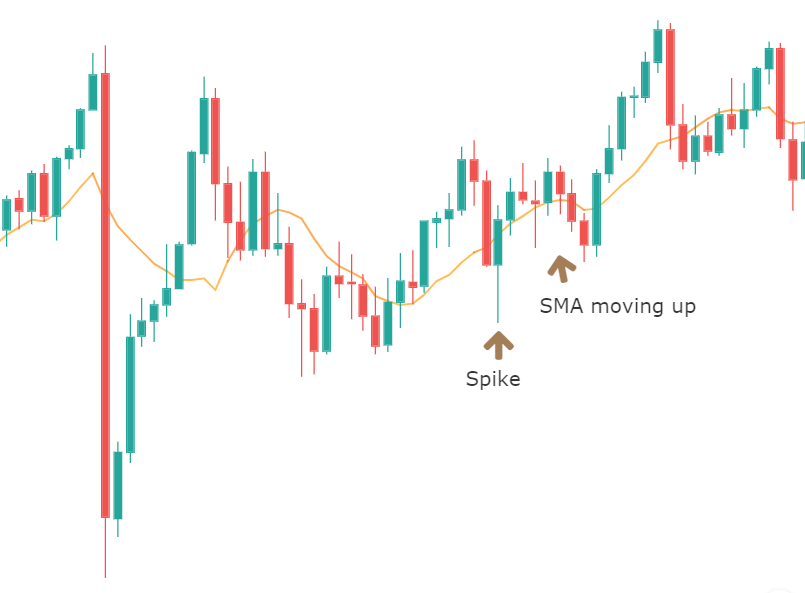
Forex traders often struggle with spikes on their trading charts. The Line chart does not show spikes, but Candlestick Chart does. Price action traders usually use candlestick charts as one of their weapons to trade effectively. Thus, they face this problem every now and then. There is no sure method confirming which spikes are to be ignored, and which are not to be ignored. We have to be sensible about that. In today’s lesson, we find out a kind of spikes that are not to be ignored. Let us get started.

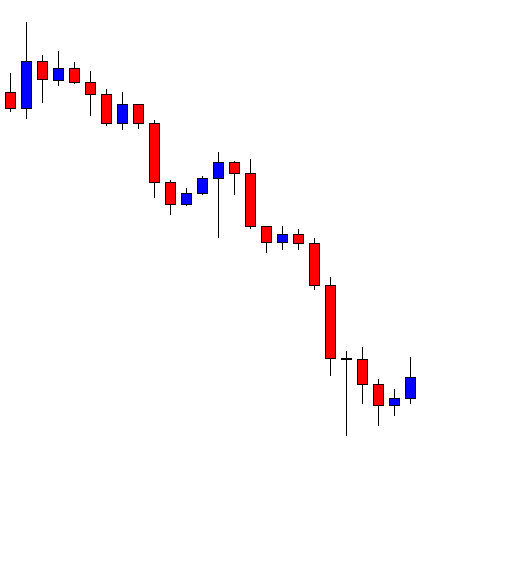
The price heads towards the South with good bearish momentum. It finds its support and produces a bullish reversal candle. The last candle comes out as a bullish candle as well. The sellers are to wait for a bearish reversal candle to go short in this chart.

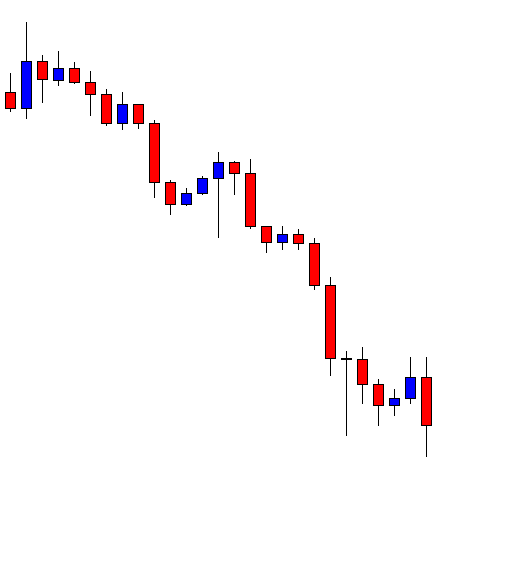
Here comes the bearish reversal candle that the sellers wait in such price action. We have not drawn any resistance line. If we closely observe, we find that the last two candles’ bodies suggest a line of resistance. Candles’ bodies play a significant role in determining the support/resistance line. Let us draw a line of resistance here.

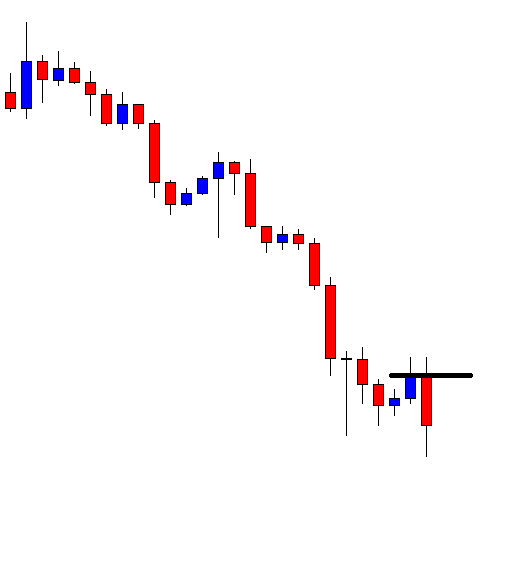
Here it is. The combination of the last two candles and their bodies suggests that we may draw a line right above their bodies. In most cases, we are to do this. However, the last two spikes have something more to think about. If we closely look, we find that the last two spikes are lined up. They have had their rejection at the same level. This means that the line is significant, which must not be ignored. Thus, if we want to take entry here, we may count the line above as the level of resistance. Let us have a look at the chart below with more drawn lines.

Look at the Stop Loss level. To be safe, we may not ignore such levels, where the price gets rejected multiple times. The candles may end up having spikes, but these spikes shall be counted to determine our stop loss, take profit, and breakout level. Let us not proceed to find out how the entry goes.

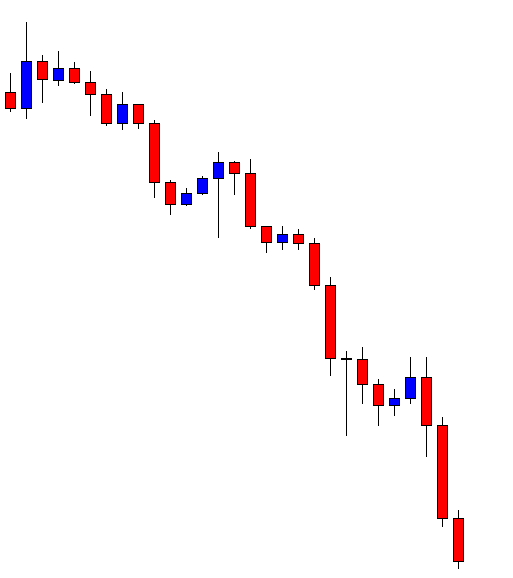
The trade setup works well for the traders. The price heads towards the South with more bearish pressure. It gets 1R to the sellers in a hurry. Now many of us may say the price never goes back to the level. In 80% of cases, the price does not go back near to the resistance. In the rest of the 20% cases, it may go. That is when we are to take an unnecessary loss. As they say, it is better to be safe than sorry. Let us be safe with spikes like these.

Categories
Forex Course

73. Simple vs. Exponential Moving Average

Introduction

After having a fair amount of discussion concerning Simple and Exponential Moving Averages, a question that may arise is, which one to use when? Whether SMA gives accurate trading signals, or is it the EMA that is more accurate and reliable than SMA? Let’s try answering these questions in this article.

We mentioned in the previous article that the EMA responds to price action more quickly. So, if we want to determine a short-term trend, EMA is the best way to go. It can undoubtedly help us in catching the early move of a trend and, in fact, profit from it by taking suitable positions in the market. The downside of the EMA is that it gives us the wrong signals during the consolidation periods of the market.

Since the EMA responds very quickly to price movements, we might think that the price has broken out of the range while it could just be a spike. The EMA proves to be too fast, and this is not desirable in such market scenarios.

In the below chart, we see that the market starts to ‘range’ after a retracement of the big downward move. Due to this, the EMA starts moving up, indicating a buy signal. Later, when the last but one candle of the range breaks out above the range, traders might think that the market has reversed, as this is also confirmed by the EMA. In the very next candle, the price makes a long wick at the top of the candle, and the EMA takes a sharp turn on the downside. This is one of the examples where the EMA can give us false signals.

The opposite is true with Simple Moving Average (SMA).

The SMA should be used when we want the moving average to be smooth and respond to price action slower than the real price movement. This characteristic is particularly useful when we are trading longer trading frames, such as daily or weekly. Since SMA responds slowly to price movement, it can possibly save us from such fake outs.

The below chart represents the weekly chart of a Forex currency pair where we can see the SMA moving up even after the occurrence of the spike. Hence the SMA gives an idea of the overall trend by filtering out spikes.

Conclusion

The SMA should be used when we want to protect ourselves from fake-outs and predict the price movement in the longer term. By using SMA, we might miss the opportunity of getting in on the trend early. On the other hand, the EMA is quick to predict the trend, and thus we can be a part of the initial move of the trend. But it carries the risk of getting preoccupied with fake-outs.

The answer to the above question (which one is better?) is that it really depends on the type of trader we are. Our risk appetite, trading time frame, and strategy will influence the type of moving average we should choose. In the upcoming lessons, we will learn how to use moving averages to determine the trend and take a trade. Stay Tuned.

[wp_quiz id=”65651″]